
Heat Press Instructions
For the best sublimation results, please follow these steps carefully:
- Preheat your heat press to 180°C.
- Choose the side of the reversible stocking that you want to personalise. Remove the inner stocking completely—do not press the stocking while the reverse side is still inside it.
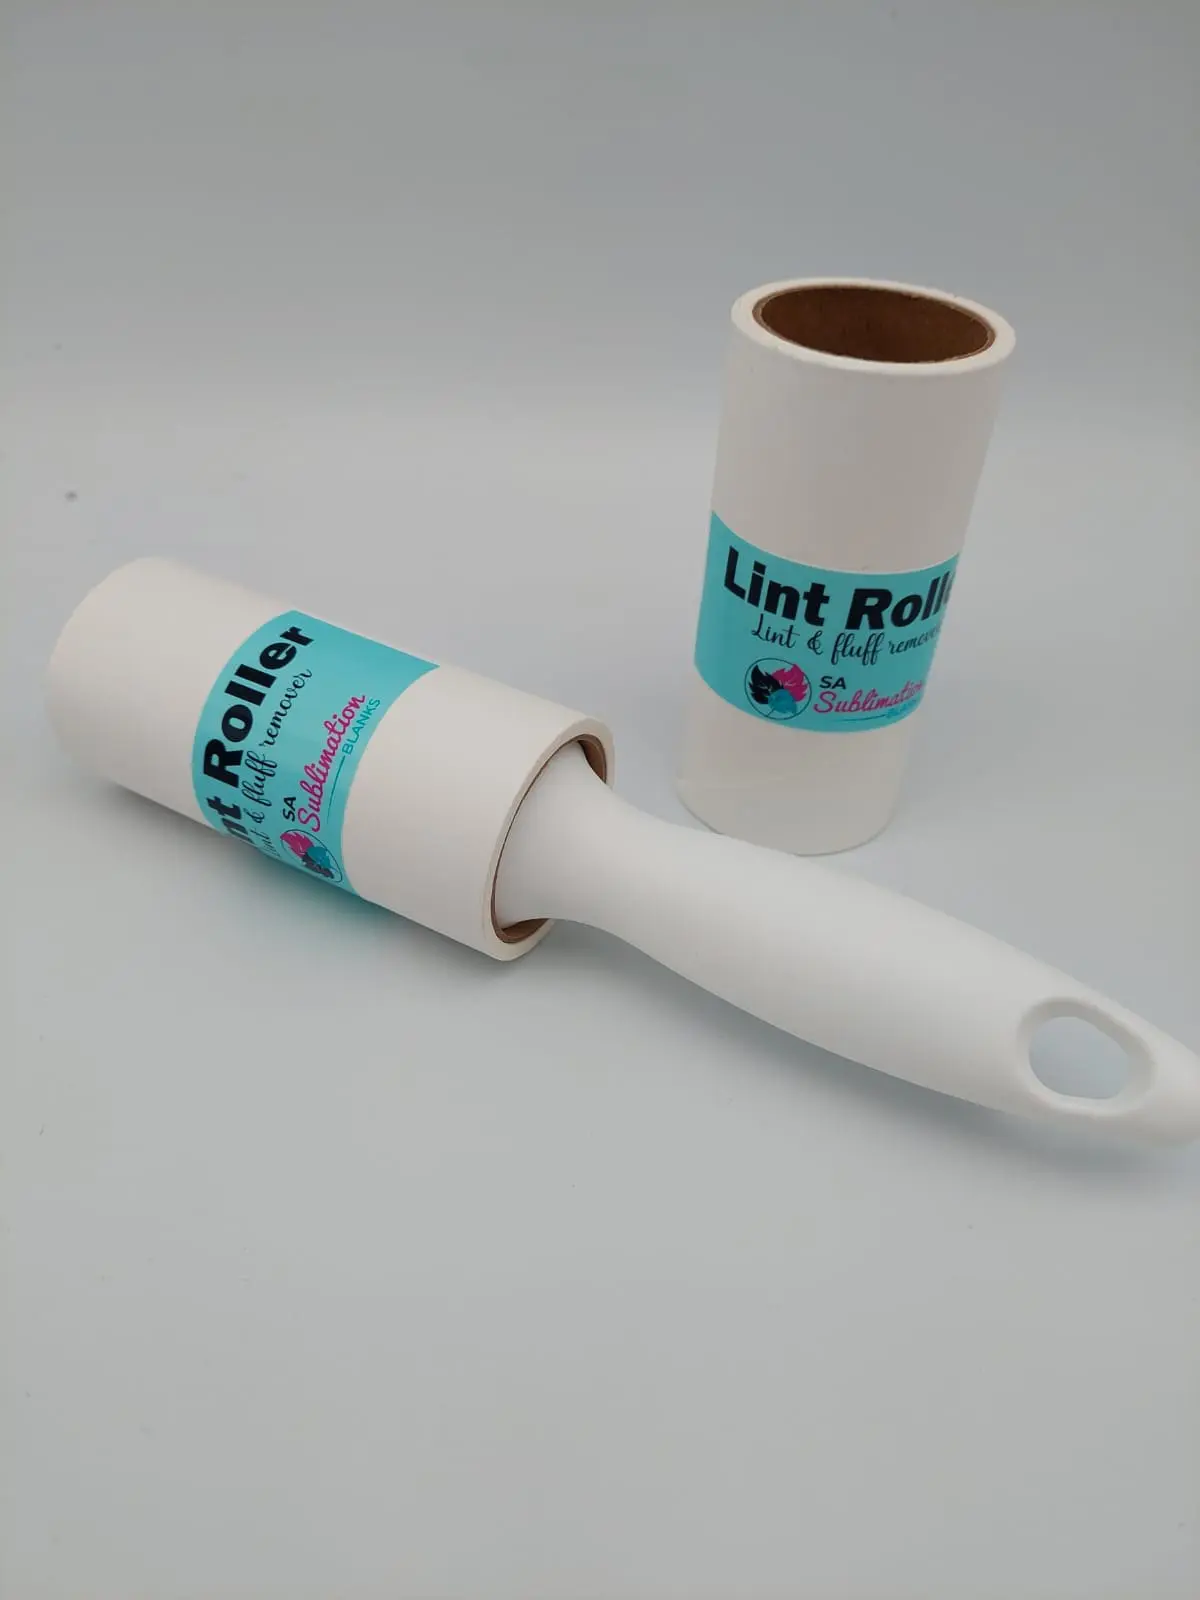
- Thoroughly lint-roll the printable area to remove fluff, dust and loose fibres that could affect the finished print.
- Place a clean sheet of silicone paper inside the stocking to prevent ink or heat marks from transferring through the fabric.
- Cover the stocking with another clean sheet of silicone paper, then briefly pre-press the printable area to remove any moisture from the fabric.
- Position and align your design carefully. Check for any raised seams or edges, as these may interfere with the pressure and cause an uneven transfer.
- Secure the transfer with heat-resistant tape to prevent it from moving during pressing.
- Cover the design with a clean sheet of silicone paper.
- Press at 180°C for 80 seconds.
- Carefully lift the press when the cycle is complete. The stocking, transfer paper and protective paper will be extremely hot, so handle them with care.
- Remove the transfer paper and heat-resistant tape according to the instructions for the sublimation paper being used.
- Allow the stocking to cool before turning it or inserting the reverse side again.
- To personalise the other side, ensure the first side has cooled completely, then repeat the full process above.
- Reveal and enjoy your personalised masterpiece!
Helpful Tip: Keep the printable area as flat as possible on the heat press. Position raised seams and bulky edges outside the pressing area whenever possible to help maintain even pressure.